Welcome to a new Easy Exposure Photo Forum! I hope you will enjoy new features. It is still work in progress, so please be patients. Thanks!
 Topic RSS


 (1 votes)
 10:26 am
August 11, 2011
 Offline
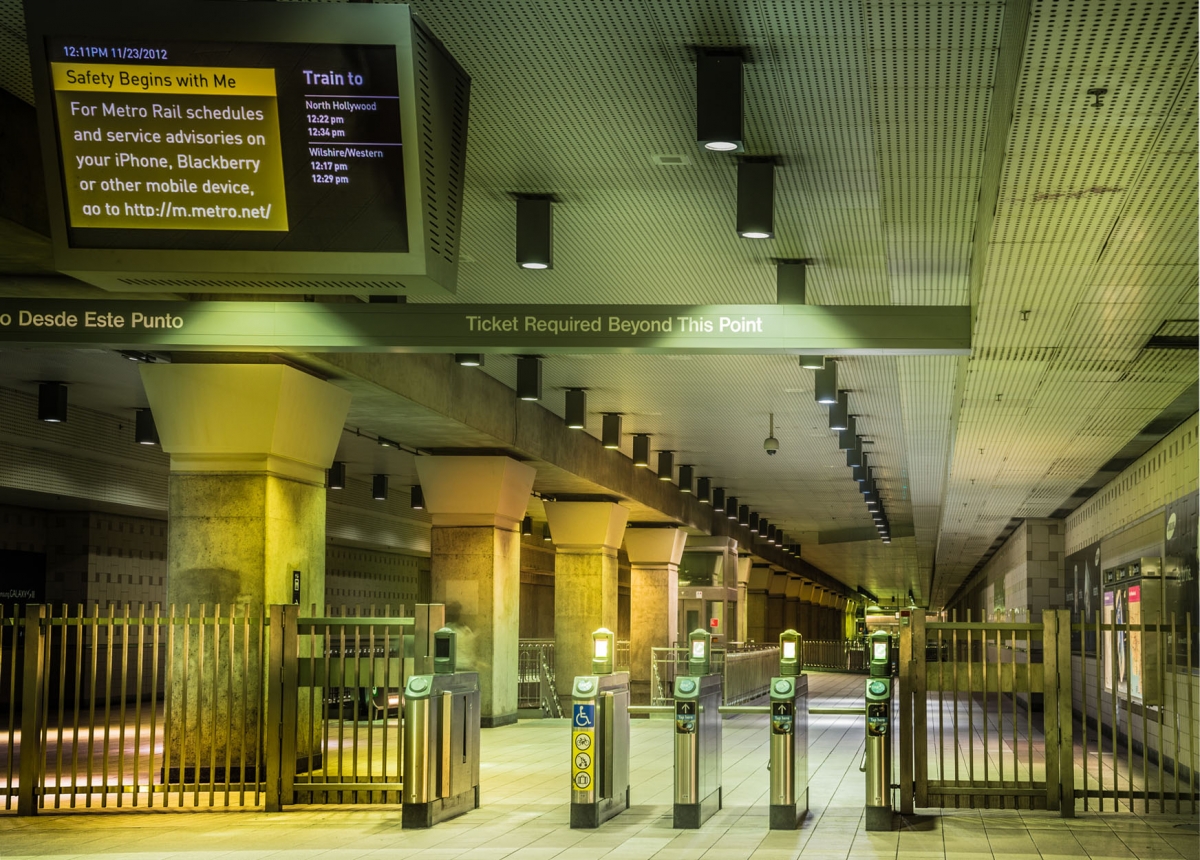
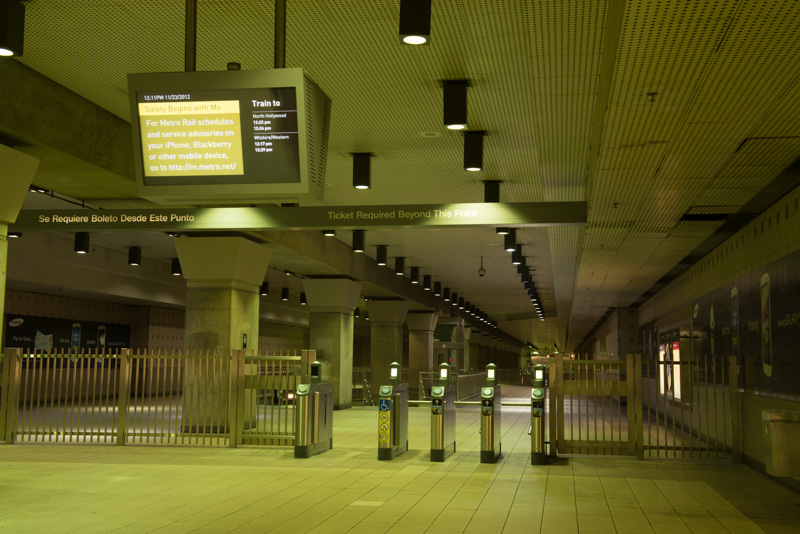
Weekly Edit 14. You can download dng image here:
https://www.dropbox.com/s/5art73pyrrxo9om/Weekly_Edit_Photo_14.dng
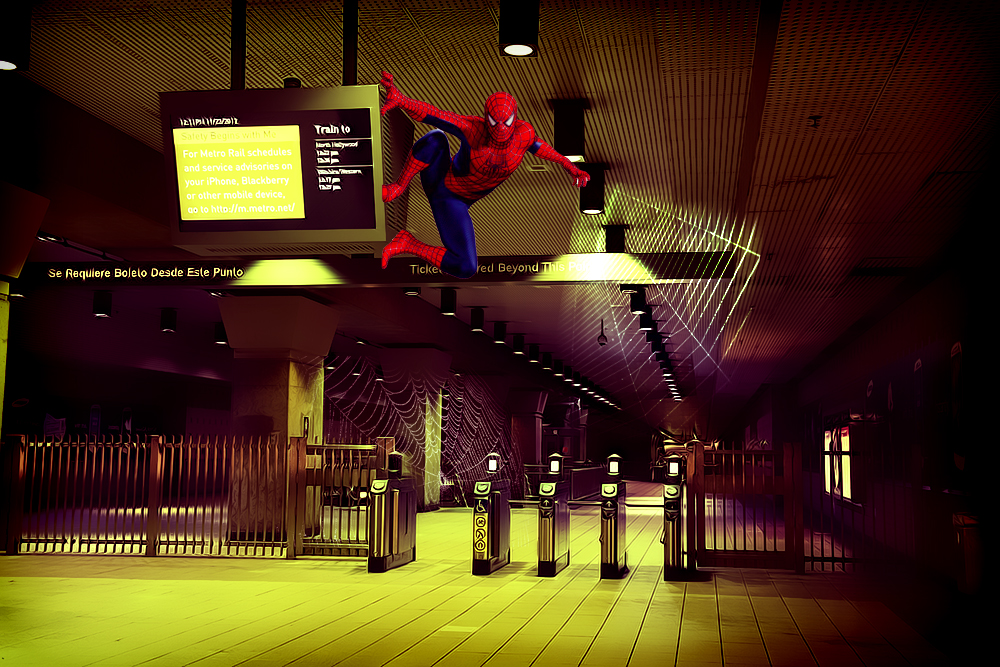
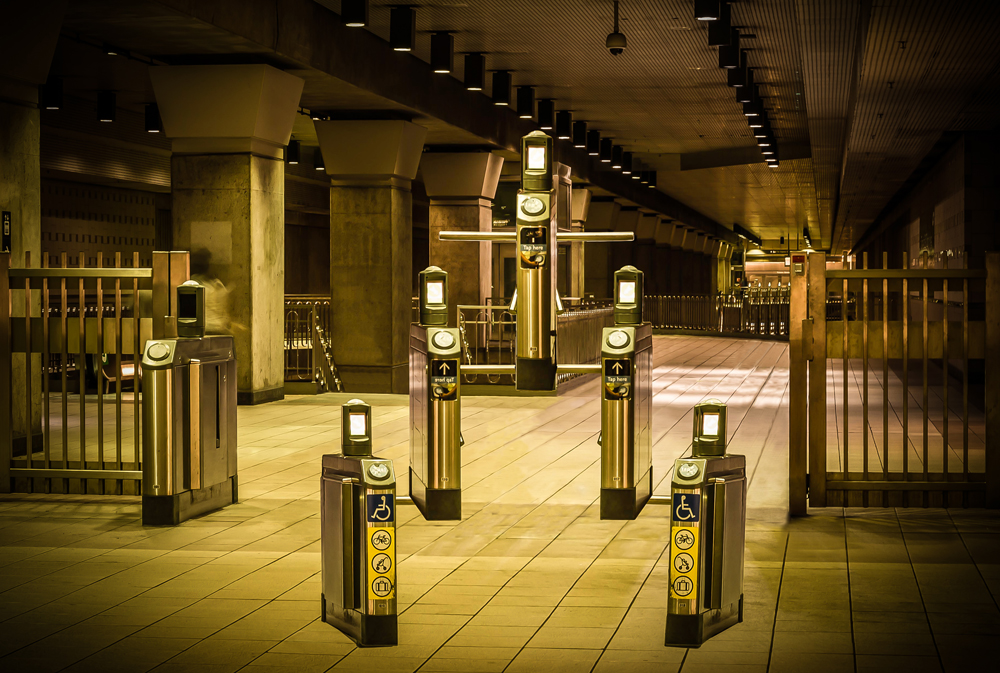
Please post your edited Jpegs in comments below. Don’t create separate post.
Good luck!
3:44 am
VIP Student
January 31, 2013
 Offline
2:58 pm
VIP Student
March 23, 2013
 Offline
5:02 pm
VIP Student
January 31, 2013
 Offline
6:46 pm
VIP Student
September 15, 2012
 Offline
7:36 am
VIP Student
September 15, 2012
 Offline
11:06 am
VIP Student
January 31, 2013
 Offline
1:44 pm
VIP Student
March 23, 2013
 Offline
10:06 am
VIP Student
January 31, 2013
 Offline
Thank you Michael for passing
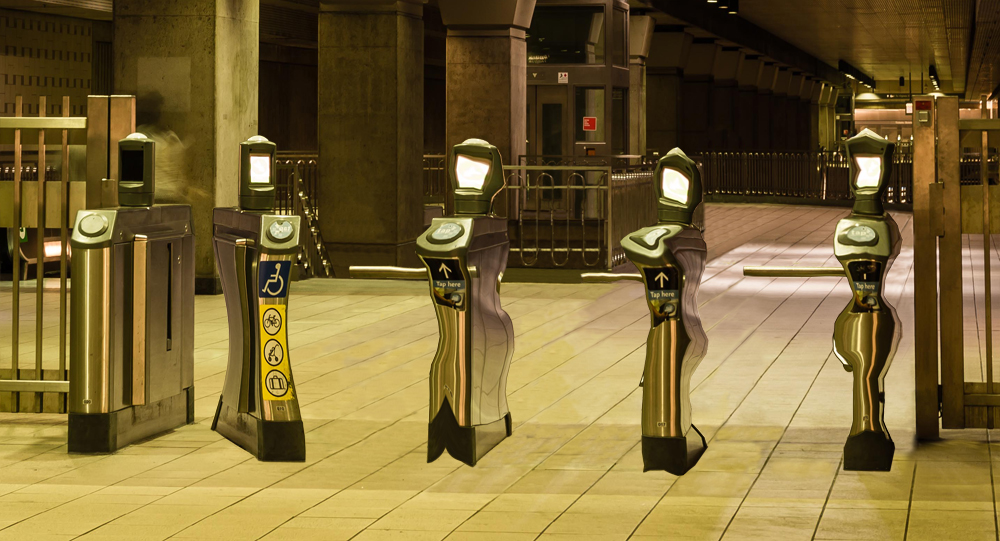
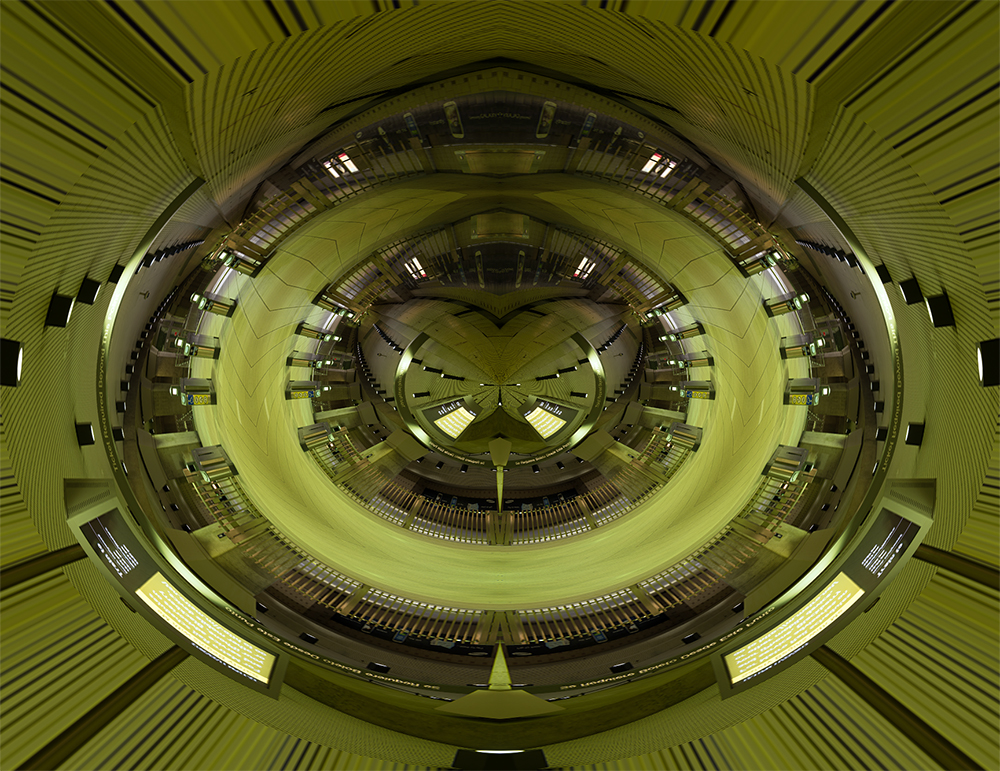
Here are the steps:
1- Open the image in PS any version.
2- Set image size to 1000×667
3- Duplicate the background and rename it to layer 1
4- Fill the background layer with white.
5- Change the background size to 2000×1334 Using canvas size in the image menu.
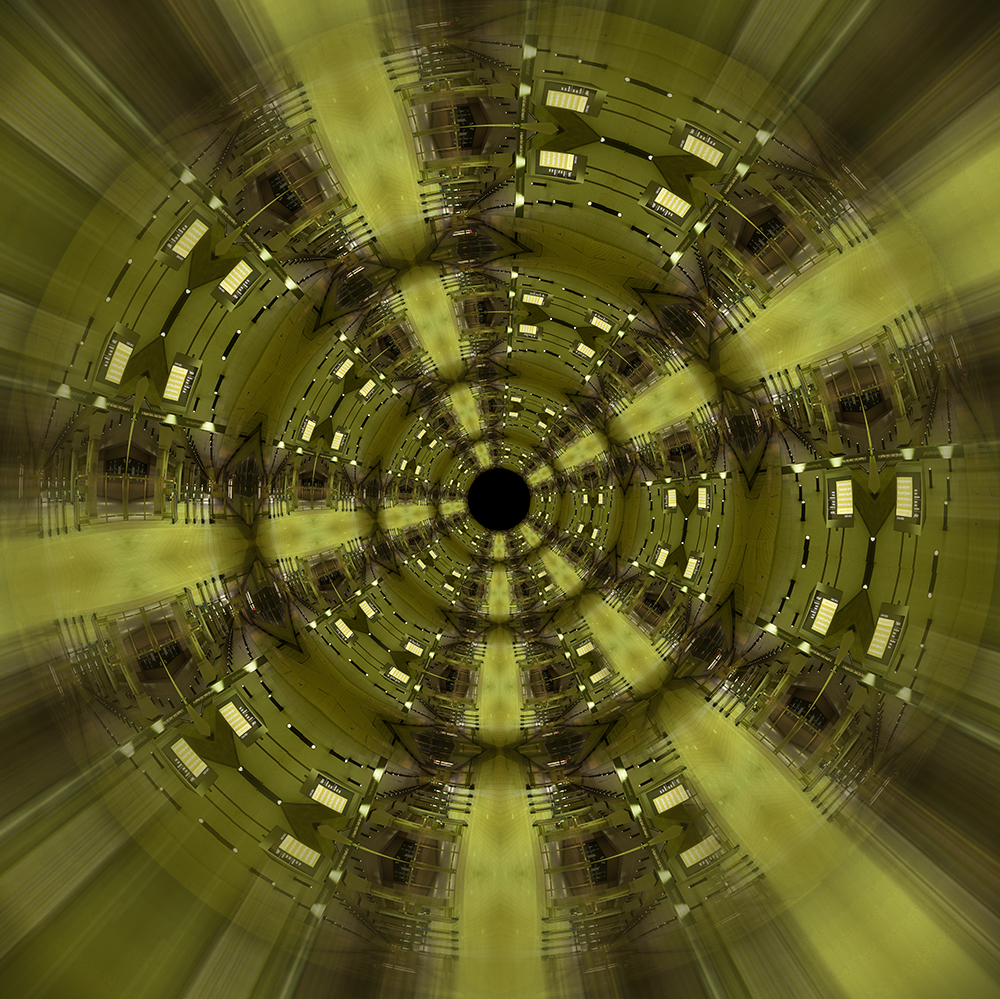
6- Duplicate layer 1 three times as in picture.
7- Merge the four layers together.
8- From filter menu choose distort then Polar coordinates and choose rectangular to polar.
9- That’s all..
I Hope the explanation is useful
•*´¨`*•.¸MOSTAFA¸.•*´¨`*•.¸¸.
10:38 am
VIP Student
January 31, 2013
 Offline
Most Users Ever Online: 1107
Currently Online:
73 Guest(s)
Currently Browsing this Page:
1 Guest(s)
Top Posters:
Mandrake: 2719
nikonguy: 1594
mscharff: 1054
Muneer: 812
Silky: 554
intekhab0731: 553
sameerfulari: 466
Brian Copeland: 449
ergig: 307
Bjørn (Madman): 278
Member Stats:
Guest Posters: 9
Members: 2557
Moderators: 0
Admins: 1
Forum Stats:
Groups: 14
Forums: 87
Topics: 2764
Posts: 15326
Newest Members:
Rollinsparry, maryamsmarthasAdministrators: easyexposure: 2164
 Log In
 Home
Home


