Welcome to a new Easy Exposure Photo Forum! I hope you will enjoy new features. It is still work in progress, so please be patients. Thanks!
 Topic RSS


 (0 votes)
 2:15 pm
May 19, 2013
 Offline
7:01 am
VIP Student
September 15, 2012
 Offline
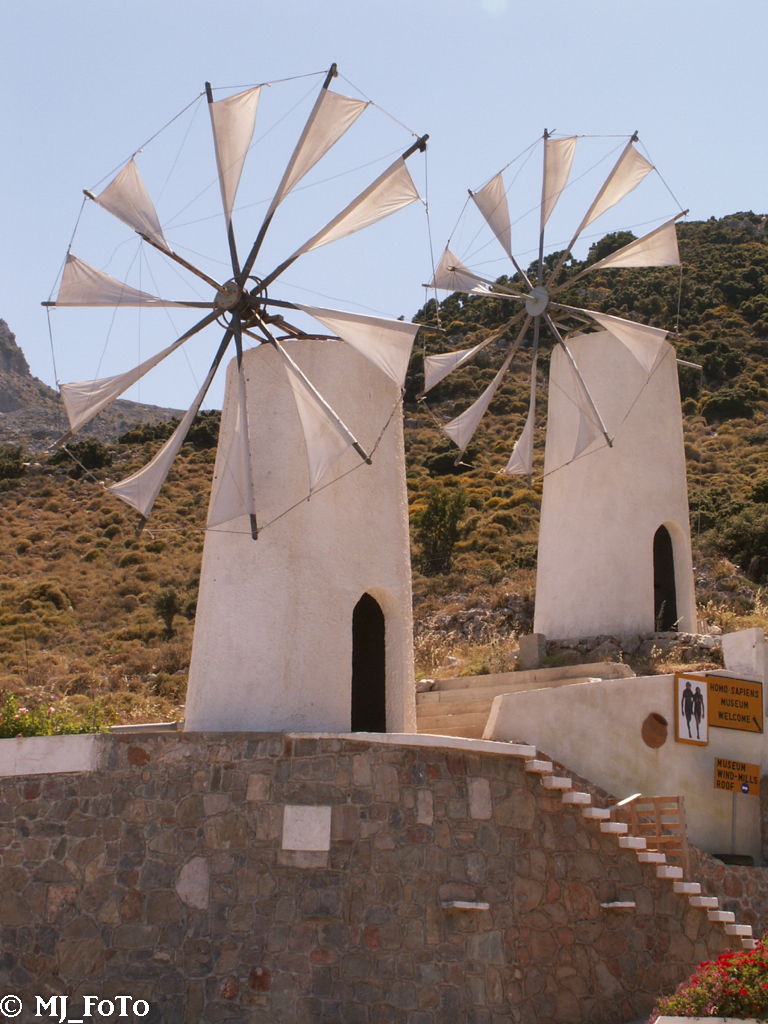
Thank you, Michel for allowing us to use your photo. This seems like a fascinating place.
I wonder what the “Homo Sapiens” Museum is all about.
Some basic Lightroom edits to provide a bit more “pop” and some PSE10 cloning to remove the white patchings.
In Lightroom I reduced highlights, increased shadows, and found the black and white points.
I added clarity, vibrance and sharpness. I used the graduated filter tool to darken both the top and bottom of the photo.
Finally, I added some vignetting and removed some significant noise that was created during the processing.

-- Mandrake --
10:42 am
May 19, 2013
 Offline
8:52 am
VIP Student
January 31, 2013
 Offline
8:59 am
VIP Student
September 15, 2012
 Offline
1:11 pm
VIP Student
January 31, 2013
 Offline
Thank you mandrake
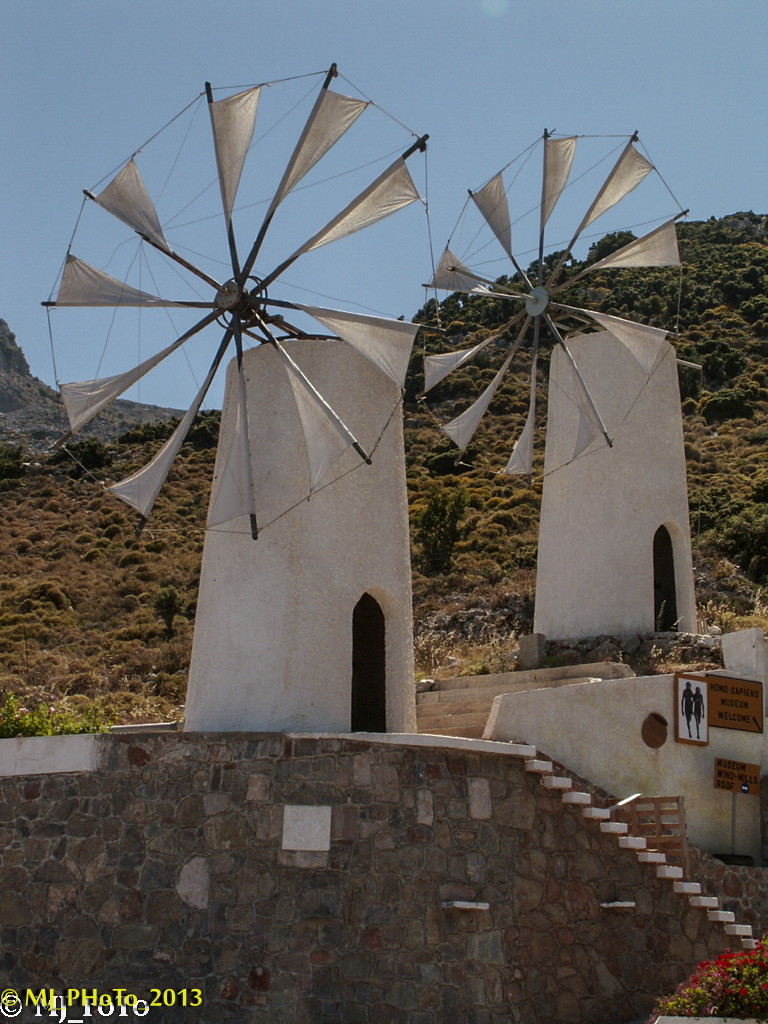
i used adobe photoshop CS6 but you can use any previous version
1st you had to make a selection around using the “elliptical marque tool” from the tool bar.
2nd the try to transform the selection to fit the blades of the windmill using menu—->Transform selection
3rd take a copy from the selected blade to a new file and Selecte layer 1 and the background from the layer panel on the right then ,centered it in the middle of the picture using menu —-> layer—-> align—> Vertical center
4th click menu again and Layer —->align —–> Horizontal center
5th select only layer 1 and click on menu Filter—-> blur —->Radial blur , then choose the amount as you prefer , click on spin and quality make it best
6th copy the selected layer to you original image and place it back in the right place.
7th from image menu—-> transform —–> perspective to adjust the right dimensions.
apply the previous steps for the second blade , the other effects i used the adjustments and photoefex pro
•*´¨`*•.¸MOSTAFA¸.•*´¨`*•.¸¸.
5:34 pm
VIP Student
September 15, 2012
 Offline
Most Users Ever Online: 1107
Currently Online:
90 Guest(s)
Currently Browsing this Page:
1 Guest(s)
Top Posters:
Mandrake: 2719
nikonguy: 1594
mscharff: 1054
Muneer: 812
Silky: 554
intekhab0731: 553
sameerfulari: 466
Brian Copeland: 449
ergig: 307
Bjørn (Madman): 278
Member Stats:
Guest Posters: 9
Members: 2557
Moderators: 0
Admins: 1
Forum Stats:
Groups: 14
Forums: 87
Topics: 2764
Posts: 15326
Newest Members:
Rollinsparry, maryamsmarthasAdministrators: easyexposure: 2164
 Log In
 Home
Home


